No-Bake Strawberry Ice Cream Cake
Highlighted under: Holiday Cookies
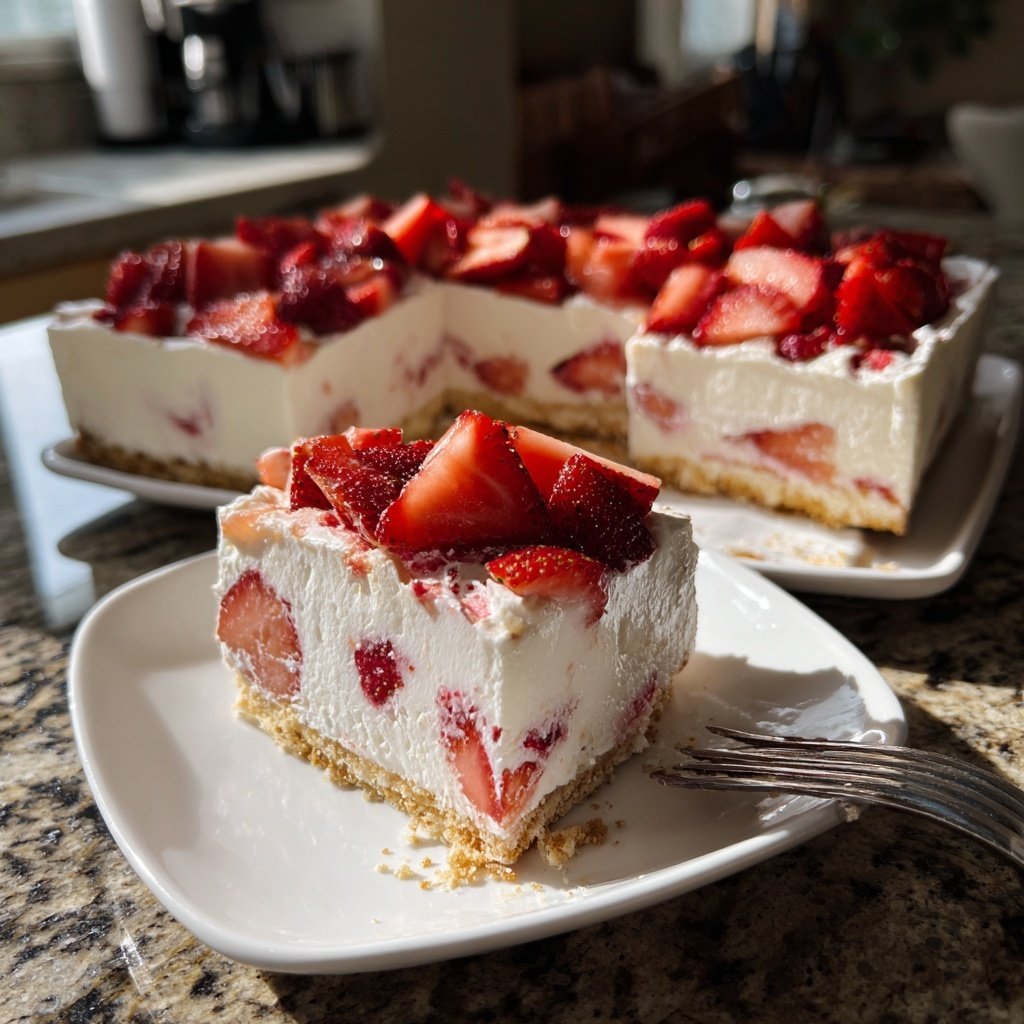
I can’t express how delightful this No-Bake Strawberry Ice Cream Cake is! It combines the luscious flavors of fresh strawberries with the creamy richness of ice cream, creating a dessert that's perfect for warm weather. The best part is, it comes together in no time without requiring an oven. With a few layers of graham cracker crust, ice cream, and strawberries, this cake is not only visually stunning but also incredibly delicious. Whether it’s a birthday party or a lazy Sunday, I guarantee this cake will impress everyone!
When I first made this No-Bake Strawberry Ice Cream Cake, I was amazed at how simple it was to put together. The combination of ice cream and fresh strawberries gave me a burst of flavor with every bite. I tried using both vanilla and strawberry ice cream, and I must say that vanilla pairs perfectly with the strawberries, giving the cake a beautiful contrast.
One tip I'd like to share is to let the cake sit in the freezer for at least two hours before serving; this really helps the layers meld together. The texture is better that way, and each slice holds its shape beautifully when cut. Trust me, once you try this recipe, you'll be hooked!
Why You Will Love This Recipe
- Fresh strawberries provide vibrant flavor and color.
- No baking means less hassle and more fun!
- The creamy ice cream layers melt in your mouth.
Mastering the Layers
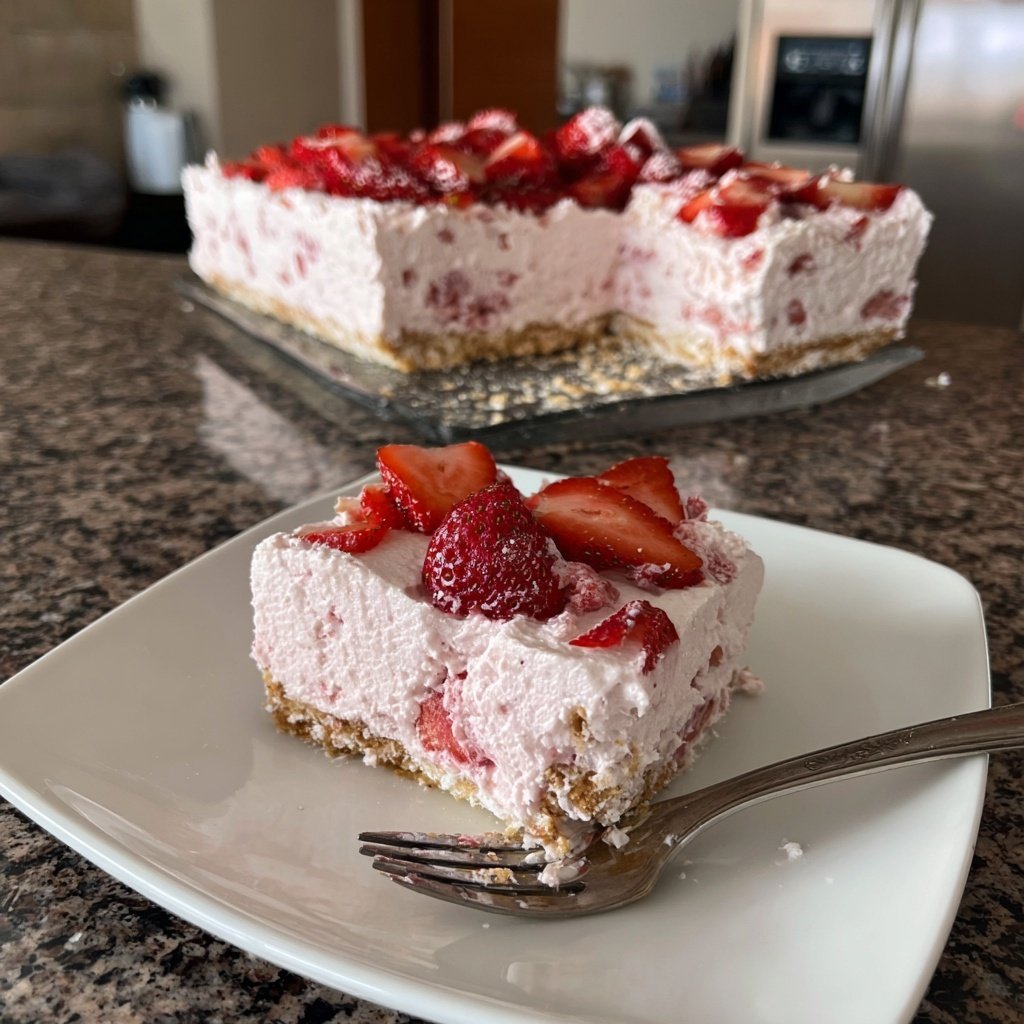
Layering is a crucial technique for achieving the perfect No-Bake Strawberry Ice Cream Cake. When spreading the ice cream, ensure it is softened but not melted for easier handling. Use a spatula to create smooth layers, which will not only make your cake aesthetically pleasing but also help in maintaining distinct flavors when sliced. If your strawberries are too juicy, pat them dry first to prevent excess moisture from seeping into the ice cream layers.
Moreover, when applying the strawberry ice cream layer, allow the vanilla layer to set slightly in the freezer for about 15-20 minutes before adding this layer. This helps prevent the flavors from merging too much, ensuring every bite captures distinct tastes. Don’t rush through the layering; take your time to create a uniform distribution of strawberries and ice cream.
Storage and Make-Ahead Tips
This cake is incredibly versatile when it comes to storage. Once fully frozen, it can be kept in the freezer for up to two weeks. Wrap the springform pan tightly with plastic wrap to prevent ice crystals from forming, which can affect texture. If you plan to serve it for a specific occasion, I recommend preparing it a day in advance. This gives it ample time to freeze thoroughly, ensuring clean slices when served.
Should you freeze it for longer, consider cutting the cake into individual portions before wrapping them in plastic wrap. This way, you can enjoy a slice at a time without having to defrost the entire cake, keeping it fresh and delicious for longer.
Creative Variations
Feel free to get creative with the flavors! While strawberry and vanilla are classic choices, you could easily substitute the vanilla ice cream with other flavors like coconut or cheesecake. For a more decadent version, try using chocolate sauce drizzled in between layers or even adding chopped nuts for added crunch. Just be mindful of the additional moisture that certain toppings might add—you can adjust strawberry slices accordingly.
If you want to cater to different dietary preferences, consider using gluten-free graham crackers for the crust. Additionally, vegan ice creams are available that would work just as well in this recipe, allowing everyone to indulge without sacrificing flavor or texture. Mix and match flavors based on seasonal fruits for an ever-changing treat!
Ingredients
Gather the following ingredients for your No-Bake Strawberry Ice Cream Cake:
Ingredients
- 2 cups graham cracker crumbs
- 1/2 cup unsalted butter, melted
- 1 pint vanilla ice cream, softened
- 1 pint strawberry ice cream, softened
- 2 cups fresh strawberries, sliced
- 1/2 cup whipped cream, for topping
Make sure all your ingredients are ready before you start assembling the cake.
Instructions
Follow these steps to create your No-Bake Strawberry Ice Cream Cake:
Prepare the Crust
In a mixing bowl, combine graham cracker crumbs and melted butter. Press the mixture firmly into the bottom of a 9-inch springform pan to create an even layer. Set aside.
Add the Ice Cream Layers
Spread the softened vanilla ice cream over the prepared crust, smoothing it into an even layer. Follow by adding a layer of sliced strawberries, then top with the strawberry ice cream, smoothing it out as well.
Freeze the Cake
Cover the pan with plastic wrap and place it in the freezer. Allow it to freeze for at least 2 hours or until firm.
Serve
When ready to serve, remove from the freezer, top with whipped cream and additional strawberries if desired. Slice and enjoy!
Delight in every rich and fruity slice of your No-Bake Strawberry Ice Cream Cake!
Pro Tips
- For an extra layer of flavor, consider drizzling some chocolate sauce over the top before serving. It's a heavenly combination!
Step-by-Step Overview
This No-Bake Strawberry Ice Cream Cake comprises four essential steps: prepare the crust, add ice cream layers, freeze, and serve. Ensuring each step is executed carefully will provide a cake that not only delights the taste buds but also looks stunning. Start with a sturdy crust that balances the richness of the ice creams. A well-prepared graham cracker crust is fundamental to supporting the entire structure of the cake.
Once the crust is in place, patience is key when layering ice cream. Spreading the ice cream too fast can lead to uneven textures. Instead, take your time to smooth each layer and ensure a clear delineation between flavors. As you work through the freezing phase, keep an eye on the time. A fully set cake will slice neatly, offering a beautifully layered presentation.
Serving Suggestions
When it comes time to serve, consider garnishing the cake with fresh mint leaves along with additional strawberry slices for an eye-catching touch. Additionally, a drizzle of strawberry puree or a sprinkle of crushed graham crackers on top can elevate the visual appeal. Serve the cake directly from the freezer; let it sit at room temperature for about 5 minutes for easier slicing.
For those who enjoy contrasting flavors, serve your cake with a scoop of complementary ice cream on the side—perhaps a zesty lemon sorbet to cut through the creaminess. This not only adds complexity but also freshness to each bite, ensuring a well-rounded dessert experience that will leave a lasting impression.
Questions About Recipes
→ Can I use other fruits in this recipe?
Absolutely! You can substitute with blueberries, raspberries, or mixed fruit.
→ How long does the cake last in the freezer?
It can last up to a week if properly covered.
→ Is it possible to make this cake dairy-free?
Yes, you can use dairy-free ice cream and vegan butter for the crust.
→ Can I make it ahead of time?
Definitely! This cake is perfect for preparing a day in advance.
No-Bake Strawberry Ice Cream Cake
Created by: The Chefxavierkitchen Team
Recipe Type: Holiday Cookies
Skill Level: Easy
Final Quantity: 8 servings
What You'll Need
Ingredients
- 2 cups graham cracker crumbs
- 1/2 cup unsalted butter, melted
- 1 pint vanilla ice cream, softened
- 1 pint strawberry ice cream, softened
- 2 cups fresh strawberries, sliced
- 1/2 cup whipped cream, for topping
How-To Steps
In a mixing bowl, combine graham cracker crumbs and melted butter. Press the mixture firmly into the bottom of a 9-inch springform pan to create an even layer. Set aside.
Spread the softened vanilla ice cream over the prepared crust, smoothing it into an even layer. Follow by adding a layer of sliced strawberries, then top with the strawberry ice cream, smoothing it out as well.
Cover the pan with plastic wrap and place it in the freezer. Allow it to freeze for at least 2 hours or until firm.
When ready to serve, remove from the freezer, top with whipped cream and additional strawberries if desired. Slice and enjoy!
Extra Tips
- For an extra layer of flavor, consider drizzling some chocolate sauce over the top before serving. It's a heavenly combination!
Nutritional Breakdown (Per Serving)
- Calories: 250 kcal
- Total Fat: 12g
- Saturated Fat: 7g
- Cholesterol: 30mg
- Sodium: 120mg
- Total Carbohydrates: 32g
- Dietary Fiber: 1g
- Sugars: 22g
- Protein: 3g